Quick Start Guide
Welcome to the SkyPath AI Privata Quick Start Guide!
This guide provides instructions to set up an account, upload documents, and generate responses or proposals. No technical experience is required!
Step 1 — Create Account
Already have an account? Skip to Step 4 — Create a New Project with the Project Wizard
- Navigate to SkyPath AI Privata privata.sky-path.ai.
- Click Register. The Create Your Account page appears.
- Enter your First Name, Last Name, Work Email, and Password.
- Click Register.
- Review and accept the Terms of Service, and click Create Account.
TIP
Select Corporate Account for multi-user access and asset sharing capabilities.
Step 2 — Verify Your Email Address
After registering, SkyPath AI will send a verification email to the address you provided.
- Locate the verification email from SkyPath AI with the subject line Please confirm your email address.
- Click the verification link within the email.
- Confirm the SkyPath AI Privata Project Dashboard opens.
TIP
Check your Spam or Junk folders for an email from @sky-path.ai. If the verification link does not arrive, you can request a new link from the Login page.
Step 3 — Log In and Complete SMS MFA Verification
- Navigate to privata.sky-path.ai and click Login.
- Enter your Email and Password, and click Login. Alternatively, click Login with Google or Login with Microsoft.
- Retrieve the one-time Verification Code sent to your mobile device via SMS.
- Enter the code in the Verification Code box, and click Verify Code.
- Confirm the SkyPath AI Privata Project Dashboard opens.
WARNING
The SMS code is time-sensitive. If the code expires, click Resend Code to generate a new code.
Step 4 — Create a New Project with the Project Wizard
- Click New Project Wizard on the Project Dashboard.
- Enter a Project Name (e.g., "ABC Corp RFP – April 2026").
- Enter an optional description in the Project Description box.
Step 5 — Choose Your Response Method
- Click the Processing Method box
- Select the method that aligns with your document type:
| Method | Best For | Description |
|---|---|---|
| Q&A Method | RFIs with individual questions | Privata extracts each question from the document and generates a separate, targeted answer for each one. |
| Proposal Method | RFPs requiring a full response | Privata analyses the entire document's instructions and requirements and generates one consolidated proposal response. |
Step 6 — Upload Your Source Document
Privata accepts RFIs (Requests for Information) and RFPs (Requests for Proposals) as source documents.
- Click Choose File.
- Select the RFI or RFP file from your device.
- Confirm the file name and size appear.
INFO
Supported Formats:
- Excel (
.xlsxor.csv) - Word (
.docx) - Text (
.txt)
Step 7 — Extract Special Instructions
Enable this option to capture formatting requirements, word limits, and specific directives from the source document.
- Click the Extract Instructions box.
- Click Next.
TIP
Privata displays detected instructions for your review on the View Project page. You can edit, remove, or add new instructions to ensure the AI-generated output adheres to all RFP requirements.
Step 8 — Create a Knowledgebase
- Enter a Collection Name (e.g., "Product ABC" or "Completed RFIs").
- Enter an optional description in the Description box.
- Click Add Collection to Project.
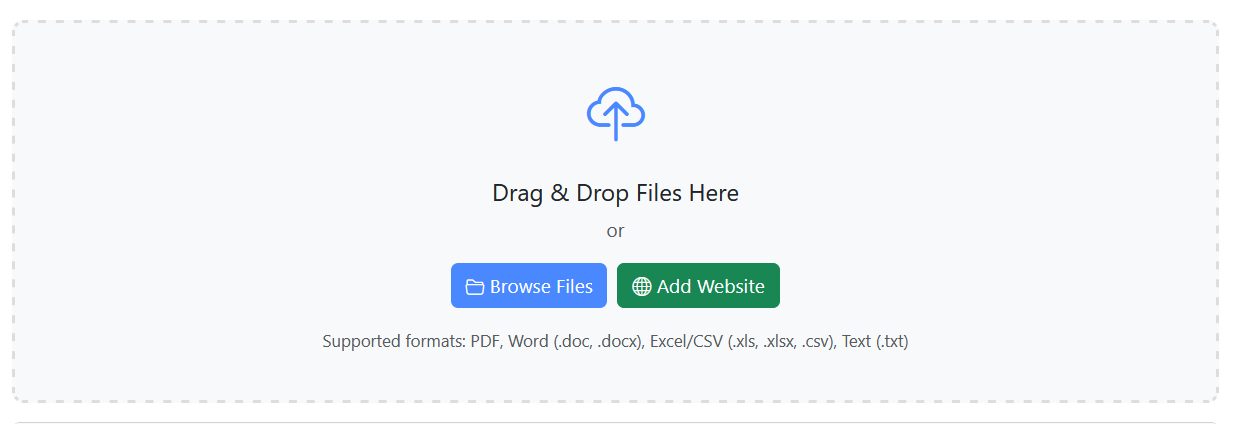
- Scroll to the Upload Supporting Documents area.
- Drag files into the drop area or click Browse Files.
- Click Add Website to include website URLs in the Collection.
- Confirm all documents are indexed and click Next.
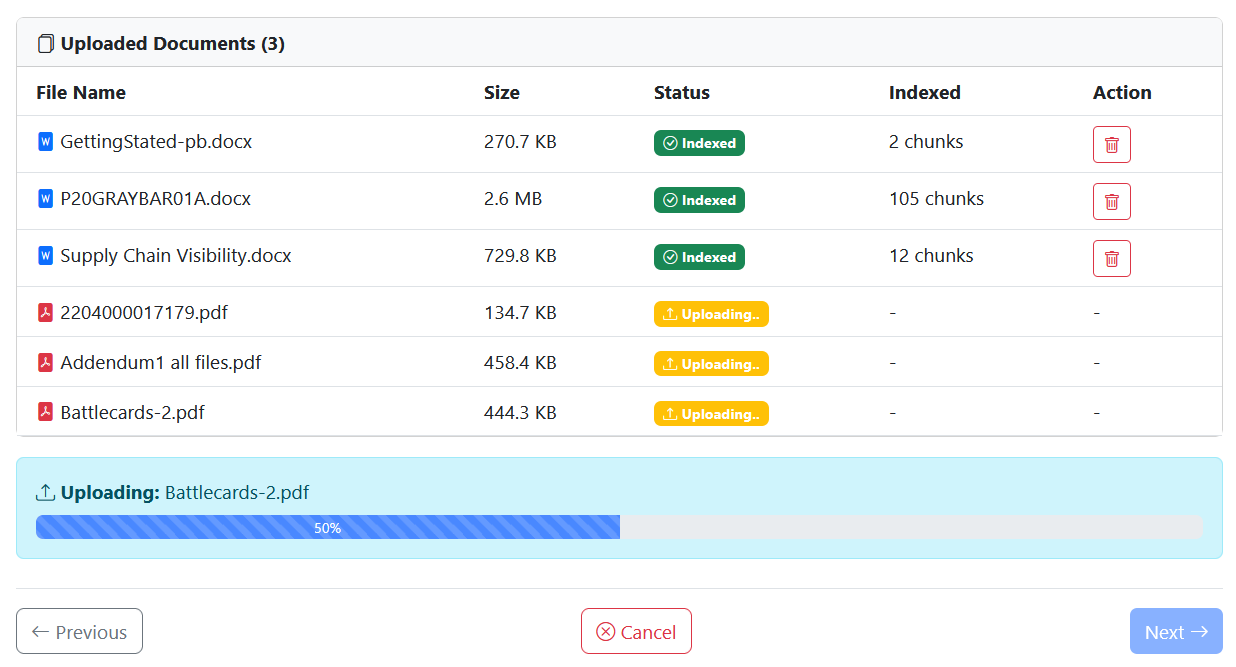
Step 9 — Complete the Wizard and Process Your Document
- Review the uploaded content.
- Click Start.
- Monitor the processing progress bar.
- Confirm the questions (Q&A Method) or document overview (Proposal Method) appear in the Process Document view.
INFO
Processing time varies based on document length. You can monitor progress via the status indicator.
Step 10 — Generate AI Responses
If you chose the Q&A Method
- Confirm the Process Document page displays your uploaded document name.
- Select a response generation option:
- Click Generate All to answer all questions.
- Click Generate next to an individual question to answer only that question.
- Review the responses generated by Privata.
INFO
Review the Confidence Score and Sources associated with each response to verify accuracy.
If you chose the Proposal Method
- Confirm the Process Document page contains the Document Overview and Response areas.
- Click the Generate Proposal.
- Review the consolidated proposal drafted by SkyPath AI Privata.
Step 11 — Review and Edit Responses
All AI-generated content is fully editable before you export.
- Click inside Answer box to modify the response using the Rich Text Editor.
- Apply formatting using the Formatting Toolbar located above each Answer box.
- Click Save All Changes.
WARNING
Important: Unsaved changes will be lost if you navigate away from the page. Click Save All Changes to preserve your work for later.
Step 12 — Export Your Completed Proposal
- Return to the top of the Process Document page.
- Click Download, and select an output format:
- PDF — Standard format for sharing and printing.
- Word (
.docx) — Best for further editing. - Excel (
.xlsx) - Best for requests received in Excel. - CSV - Plain text tabular format.
- Text File (
.txt) — Unformatted plain text.
- Confirm the file downloads to your device.
Next Steps
With the SkyPath AI Privata Quick Start Guide complete, use these resources to further optimize your RFI workflow:
- Improve Response Accuracy: Add more websites or files to your Knowledgebase.
- Collaborate with Your Team: Invite teammates and manage user permissions in Billing & Subscription.
- Explore Full Capabilities: Access our Feature, User, and Administrator guides to tailor the platform to your needs.
- Find Quick Answers: Review the Frequently Asked Questions for troubleshooting tips.
- Contact the Experts: Visit the Support Center for direct assistance.